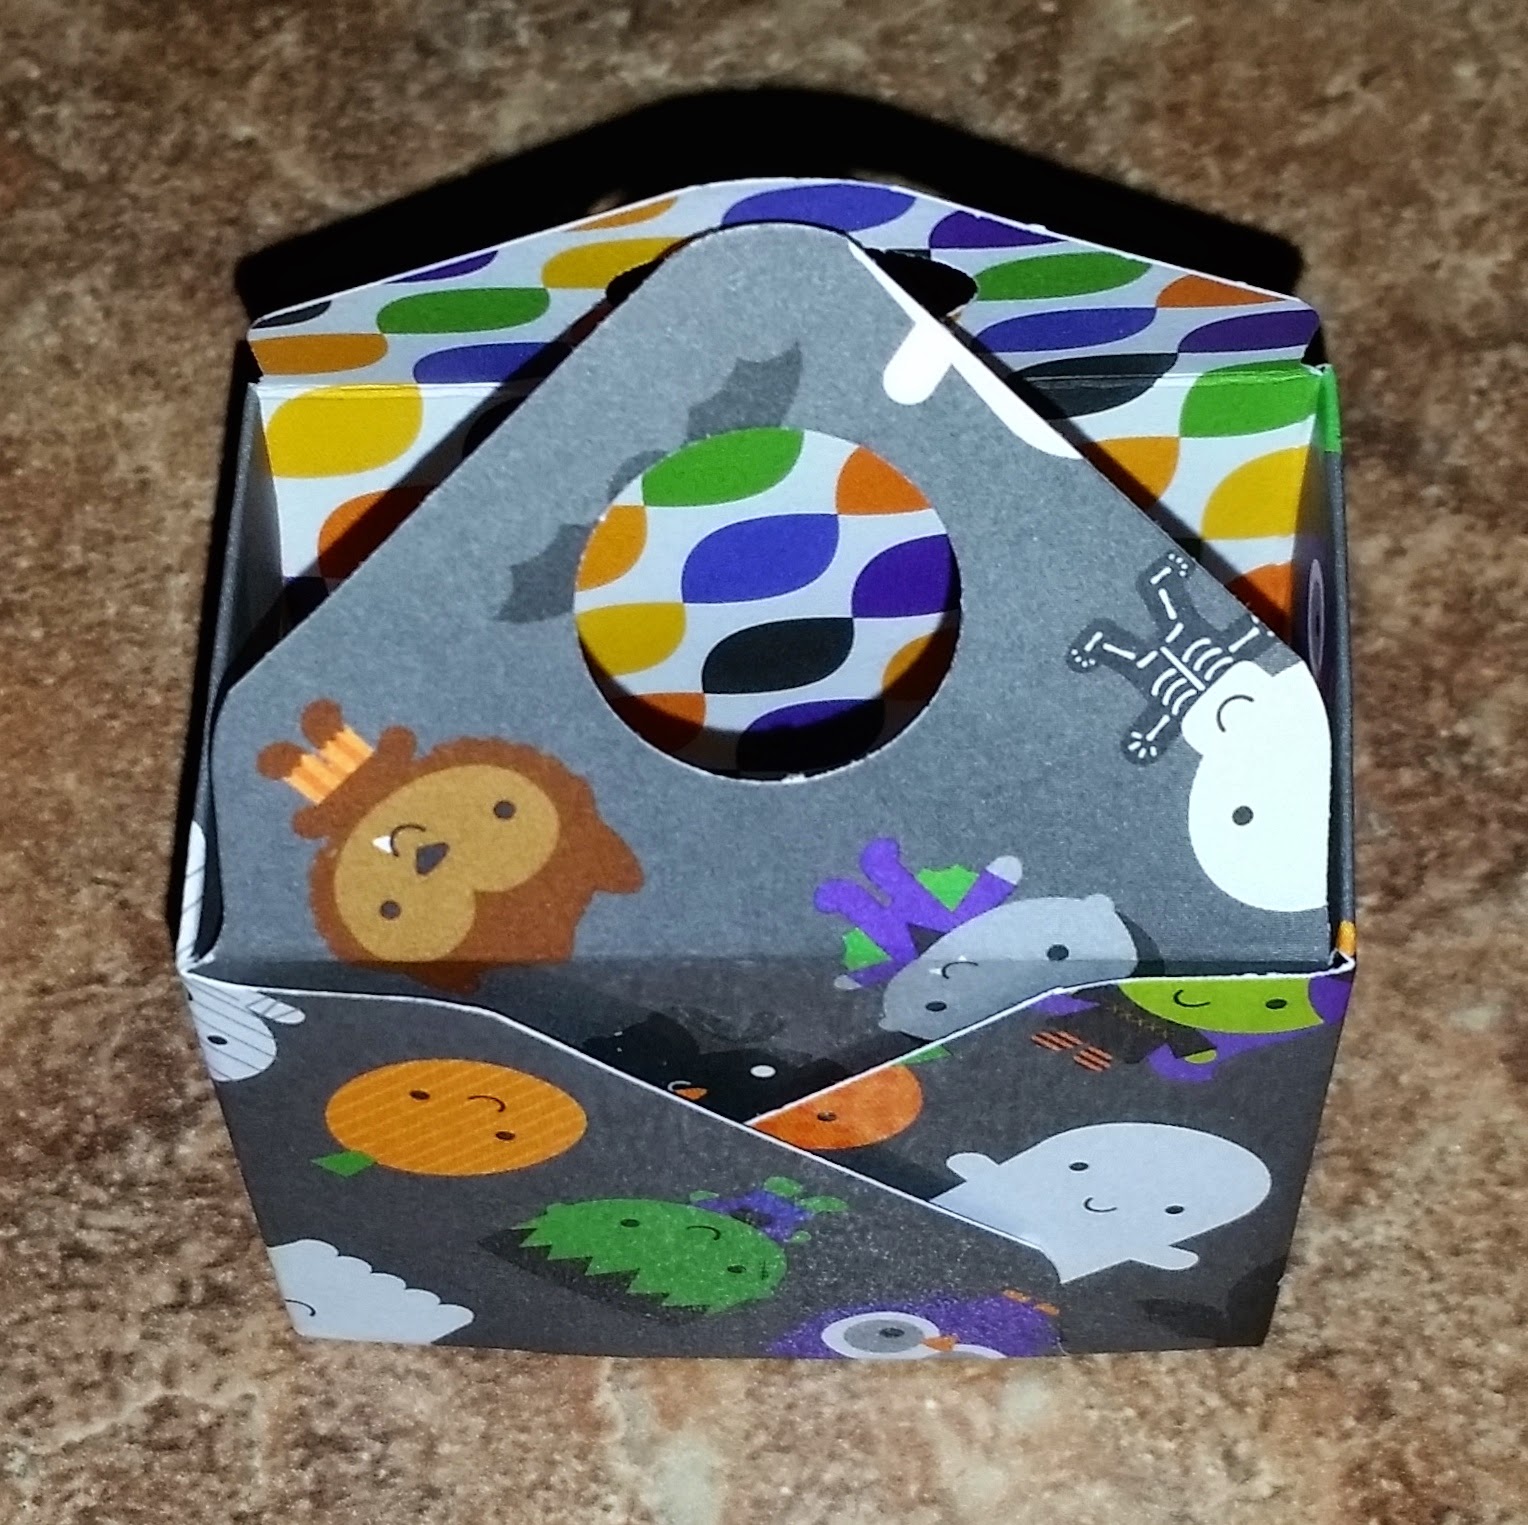
Happy October everyone! I can't believe I am posting after all this time...lol! I wanted to share this easy mini treat box with your envelope punch board. Once you know what to do...You will make plenty like I did. I am thrilled because I am already done with all my boxes to give to co-workers, my soccer gang and my mom's friends. I made 60 of these! So let's get started!
Here is a picture of what the envelope punch board looks like. It can make all different size envelopes, but I love it because it can make boxes and bags too! This is a wonderful tool to have!
This is where you start. You will get a your DP of any kind. I chose the new doodle bug Halloween paper called Ghouls and Goodies. It's double sided. This is a 6" x 6" paper. What is good about this is that if you by a 12" x 12" paper you can make 4 of these with one sheet! No wasting of any kind!
As you can see it's already scored and punched where it should be. The good thing about it is, if you play around with the dimensions, you can get bigger boxes or smaller ones. So here we go. You start on one side...punch and then score. If you look back at the score board you will see that there is one line that you can score with...that's what you will be using.
Two sides will be the same...
Here are the dimensions: punch 1 3/8" then score; punch 4" then score
Turn your paper and then punch 2" then score; punch 4 5/8" score.
You can measure up the score lines to notch on the score board and just eyeball it and punch, but I am a person who rather follow the measurements, so this is what it came out to be.
Once you are done...you will cut the score lines. Please make sure it's the bigger side. If not your box will not shape the way you wanted it to. I tried to take a picture so you can see where I cut. I am a visual person and this makes it easier.
Then you will flip your paper over and paste/tape down your little flaps.
Now you can see the flaps forming to make your box...
Don't forget that the bigger flaps you need to punch out your handles. I used the 3/4" circle punch, but you can use anything you like. I put them together and punched them out at one time. You can make a template if you want to measure and punch out one at a time if you prefer. I just did it the faster way.
Here is what it looks like once you put it together...
This is the top view. If you can see I decided to tape the flaps on the outside. This way it gives it a look of a bag in a box. I only used little glue dots at the corners of each flap and then sealed them down. Once you make it you will understand.
You can decorate to your liking with ribbon, a tag or whatever you choose.
Fill with candy or goodies and you are done!
Well...Happy 2014...as the year is almost over!
Hope all is well. Miss all of you in the blogging world! Life has been crazy and with all that we have to do...I am glad I found the time to share this simple easy box with you!
Enjoy!
Be Blessed,


